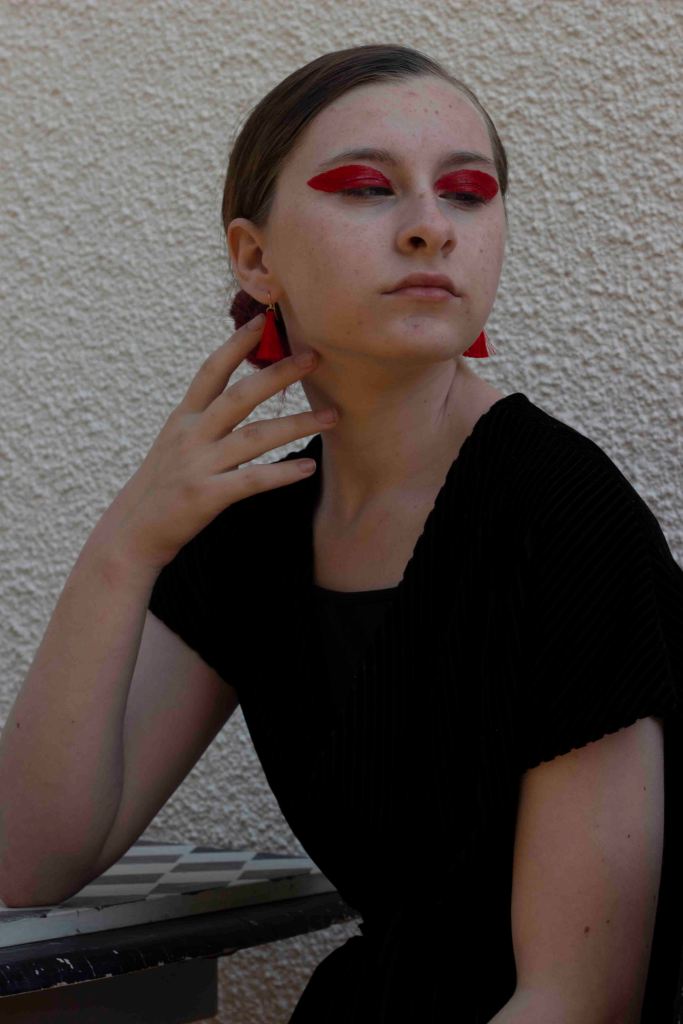
This image was from early on in the shoot. I shot it using natural lighting and shot it from below eye level to allow the subject to fill the frame with an elegence. I used a table and chair to stage a scene. I directed the model to use her hand and arm to frame her face and create a shape within the image.

With the image being lighter, the outcome is much more successful. The soft lighting works well, especially contrasting the bold make up. Using a plain white background with an uneven texture works well with the dark black clothes and the black from the pattern on the table. I used red and pink as a pop of colour to echo the resembelence of make up and accessory techniques found in 1 Granary.

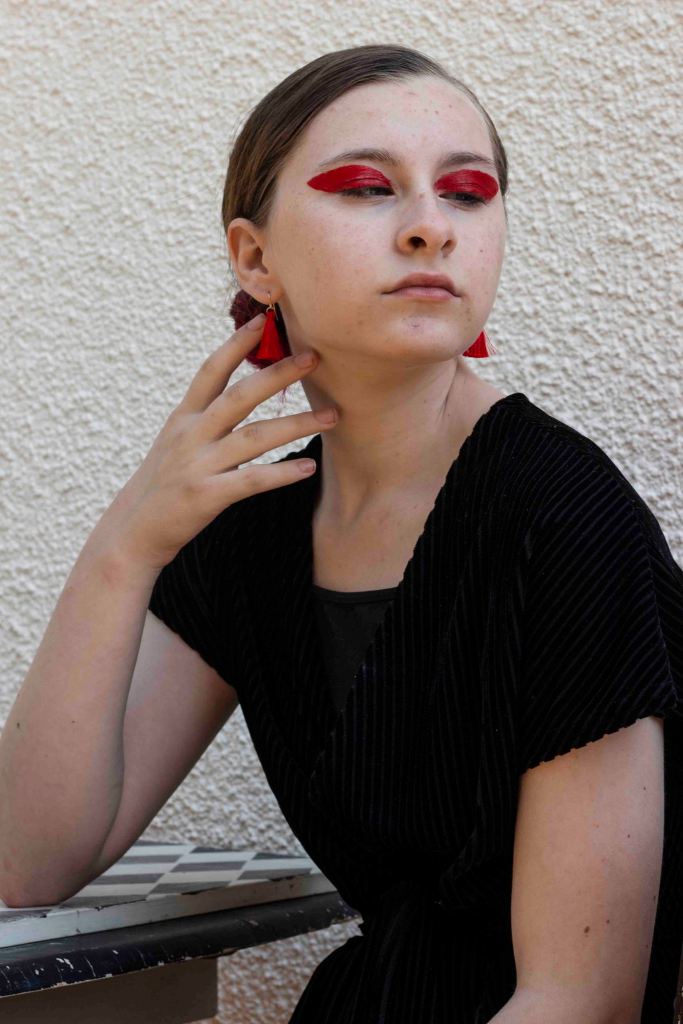
Again, this image has been shot outside using natural lighting. I wanted to achieve some bold images, using flash and strong lighting, but I also anted some outcomes using natural lighting. In this case I shot in the shade, this way I was able to avoid harsh shadows and uneven tones. The image looks slightly flat due to being underexposed, something I plan to edit in photoshop.
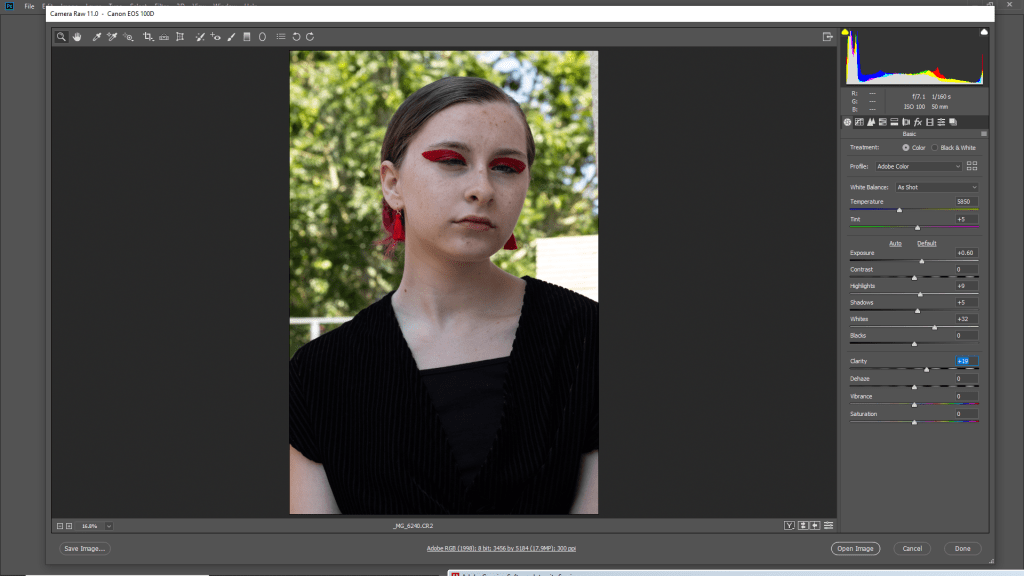
I used camera raw filter to lift the image. Enhancing the exposure, whites and clarity, I was able to brighten the image and lift the colours in the image to make them pop more.

I am really pleased with the outcome and feel it is much better than the original. The colours pop more and the image works better. If I do use this as a final outcome I will go back into photo shop and edit out more of the ‘imperfections’ in the subjects skin to make it appear more flattering.
For this image I used a reflector to reflect sunlight into the subjects face. I like the image but feel the shadow that falls on her nose is a bit odd, I am going to edit the image to see if I can improve it.
This was the one image that wasn’t underexposed. I only lifted the shadows and increased the clarity. I then decreased the highlights to make it less contrasted.
I like the outcome of the image, but am unsure of the shadow on the subjects nose. I thought I would still include it in the edits, but I definetly have stronger images for my final outcomes.

For this shot I used flash to seperate the subject from the background. Colour was an important aspect of the image, so I felt the green background worked well in addition to using flash. I am going to mke the image more contrasted in the editing process t oavoid it looking flat.
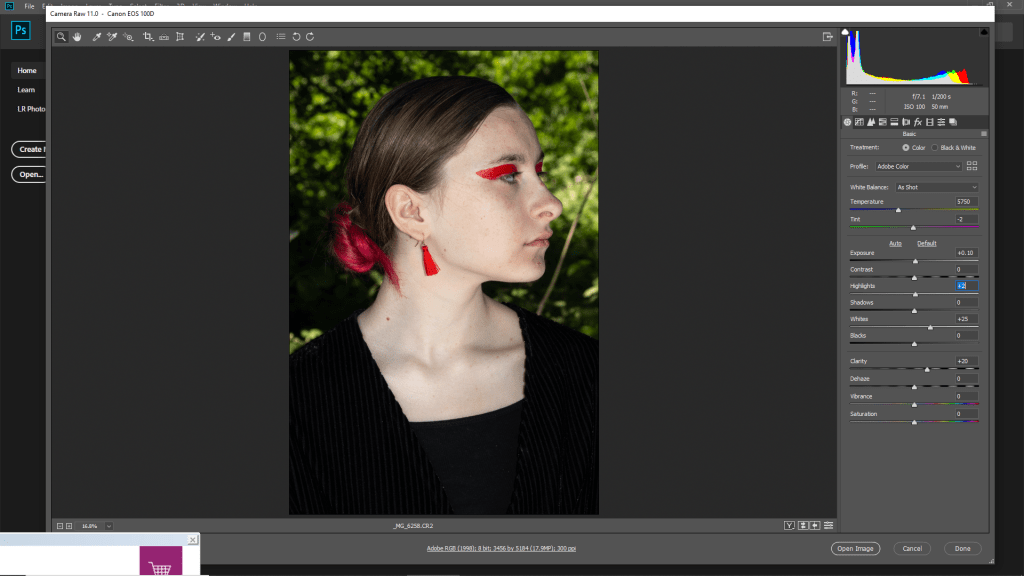
I increased the whites to brighten the image and make it look more clean. I also increased the clarity for a sharper finish.
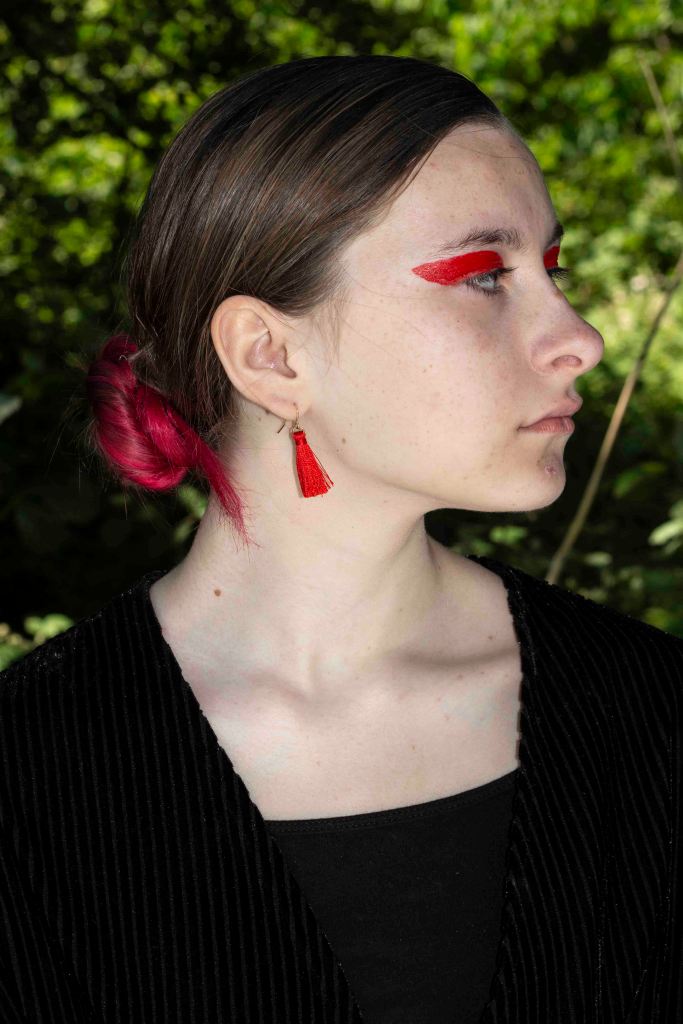
I like the outcome of this shot. I like the shape created by the side profile and hair. I also feel like the colours work really well in adding depth to the image and making it more interesting than a standard side profile.
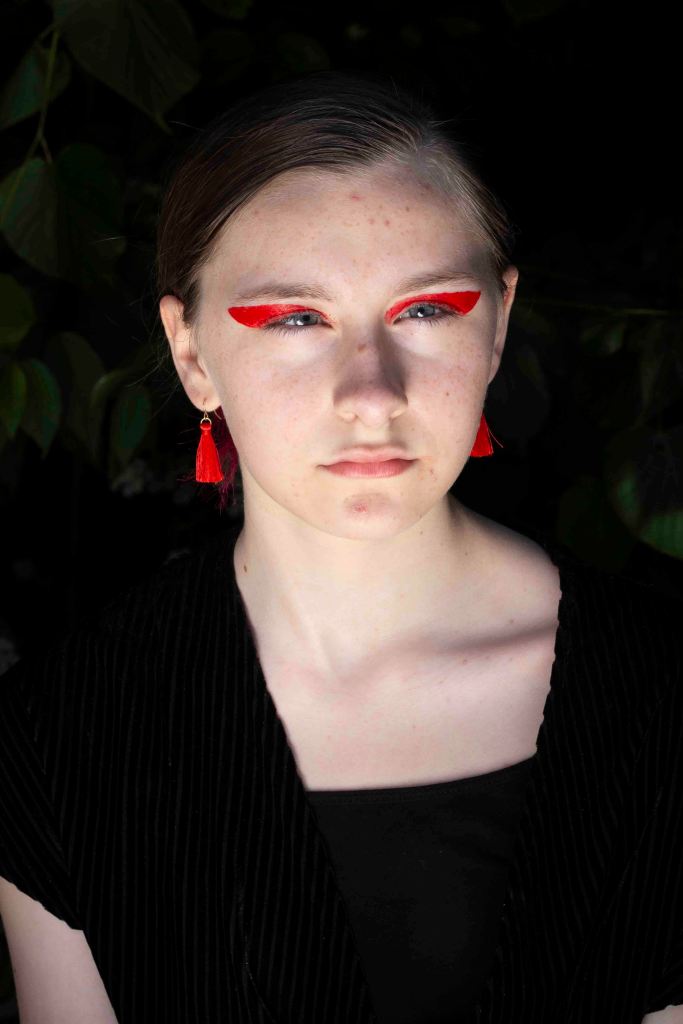
I shot this image with the model elevated. I felt that I hadn’t experiemented too much with angles, so wanted to get one like this. The image is quite dark so I am hoping to lift it in photo shop to avoid it looking flat.
I increased the exposure to lift the whole image. I also increased the whites to clean up the tones. Increasing the clarity made the image appear more sharp and detailed.
I also cropped the image to remove some of the subjects arm from the frame. I kept in the negative space of leaves as I ferlt it worked well with the composition.
I used the dodge tool on the subjects face to lift it more.

I’m impressed with how the image has lifted in the editing process. The colours work really well and I am pleased to have the choice to include this type of angle in my final edits.

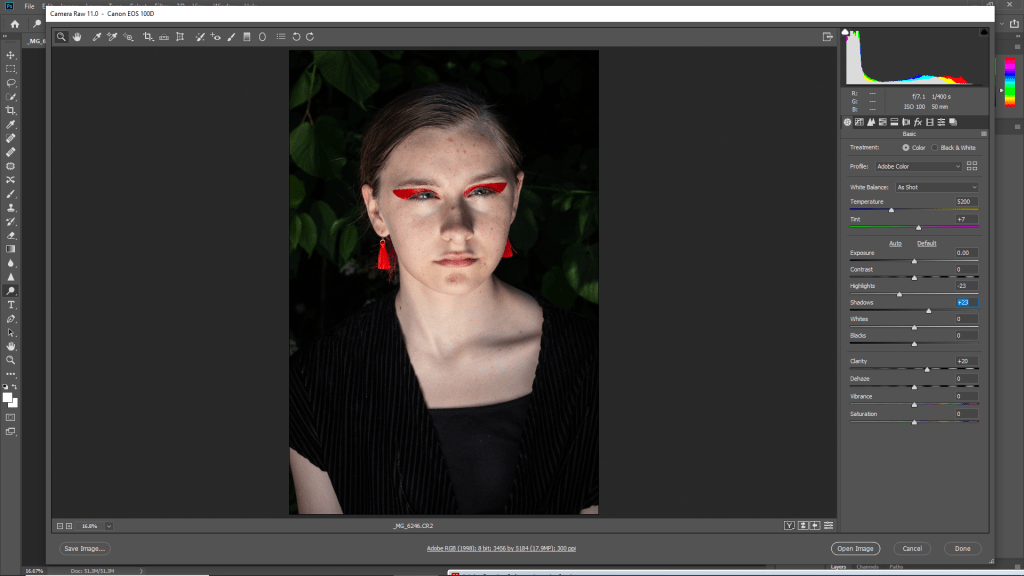
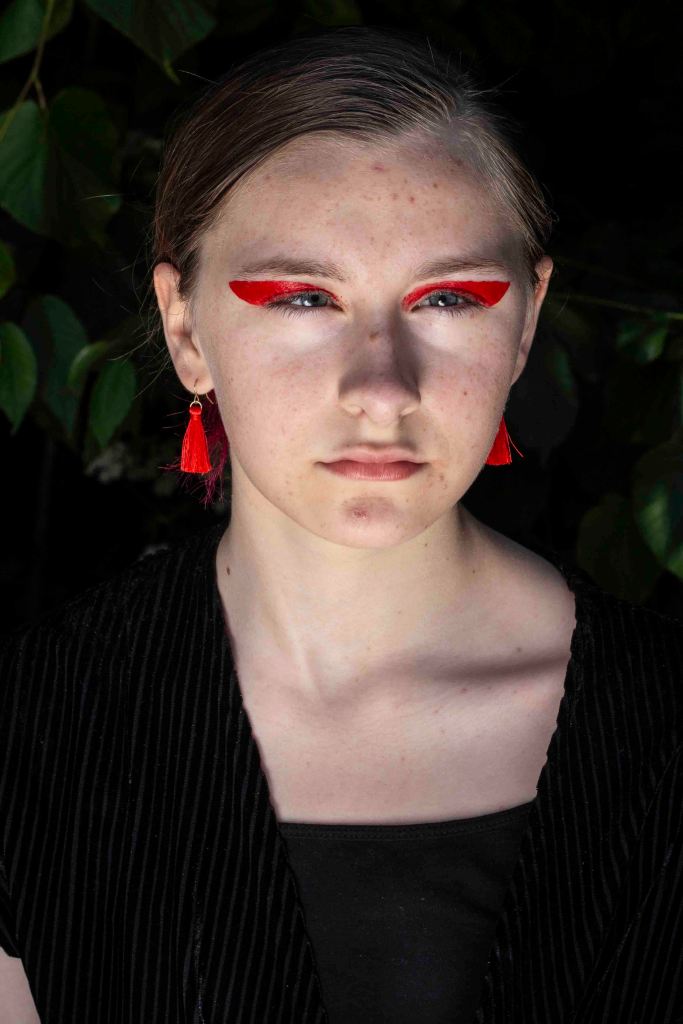
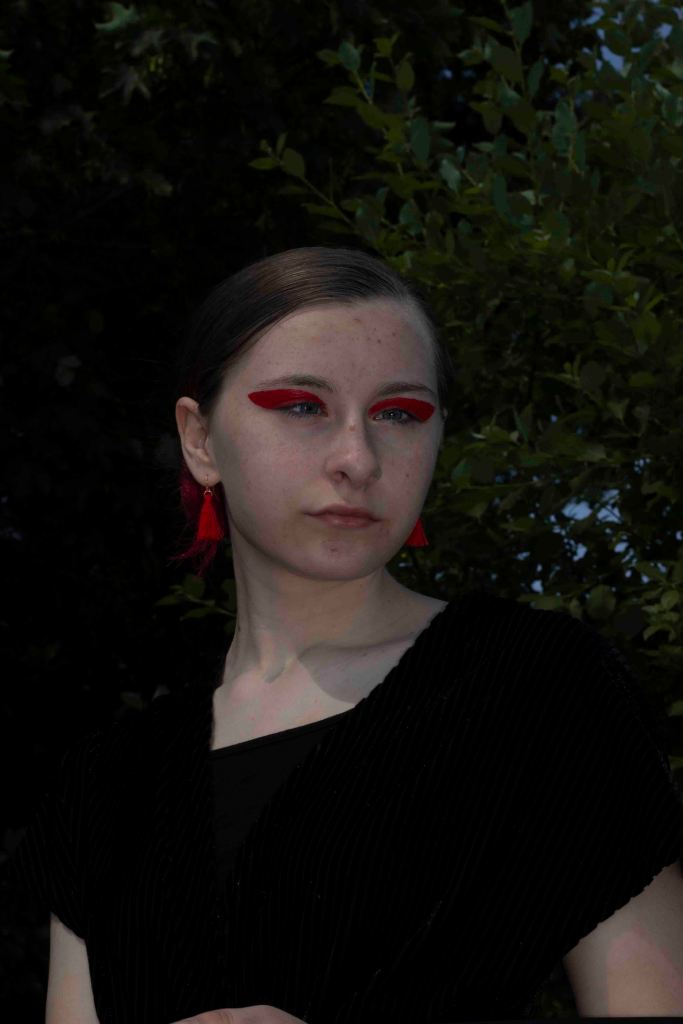
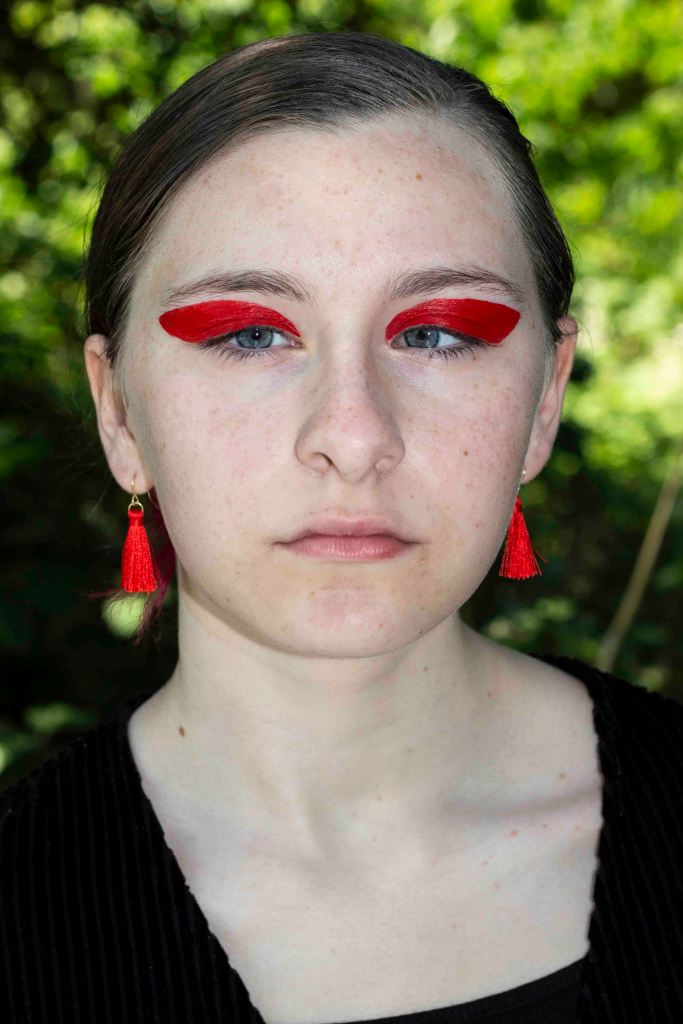
I aimed to achieve one close up portrait in this shoot. I chose to accessorise colour co-ordinated earings and make up after seeing examples in my research. I wanted to make sure I stuck to my fashion photography genre, much like my magazine, so felt I had to add some colour to make the subject pop and resemble a model from a magazine. In the editing process I want to make the image brighter and edit out some of ther imperfections on the subjects skin.
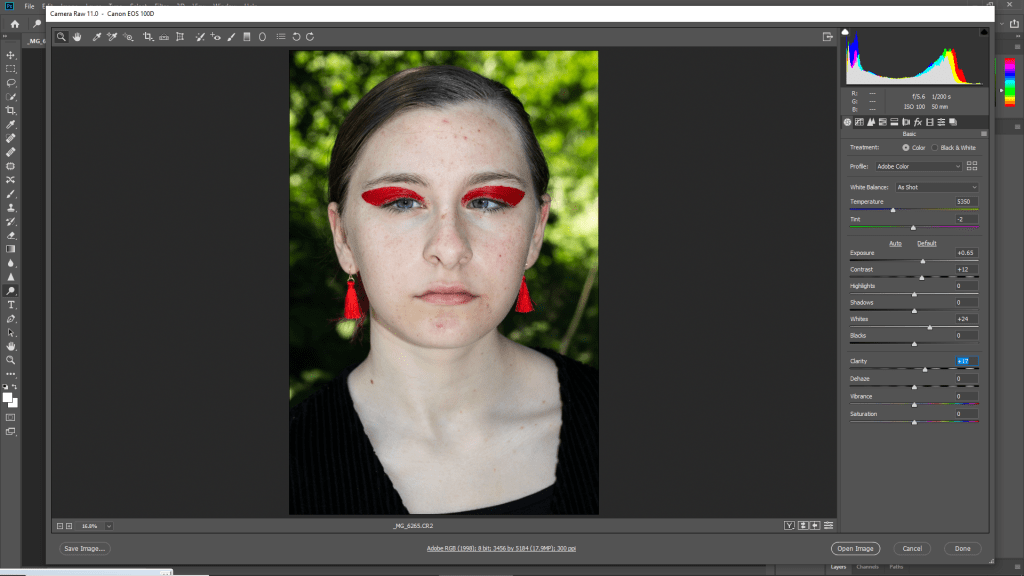
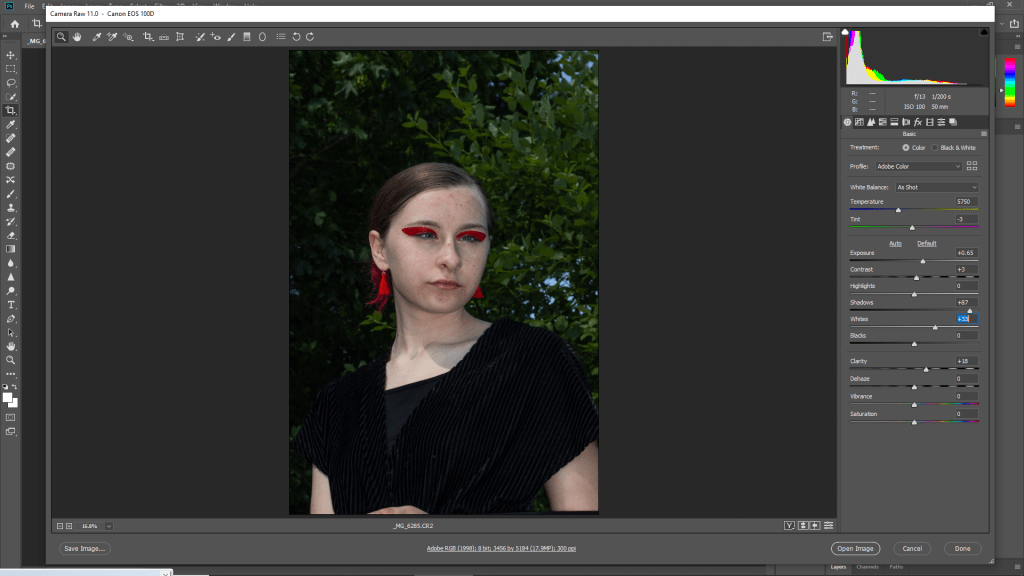
I started by making the image brighter, using exposure and whites. I also used clarity to improve the details of the image.

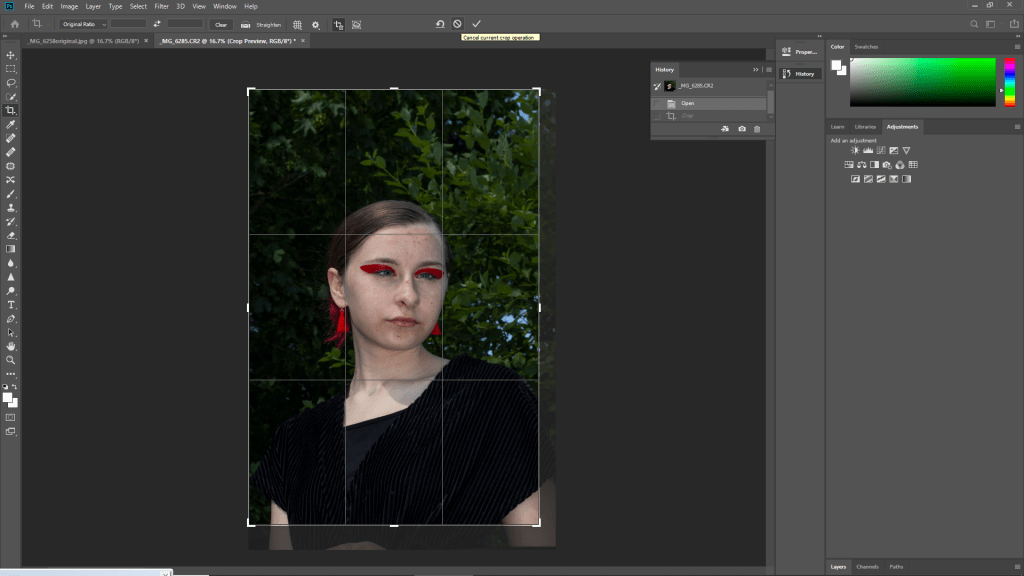
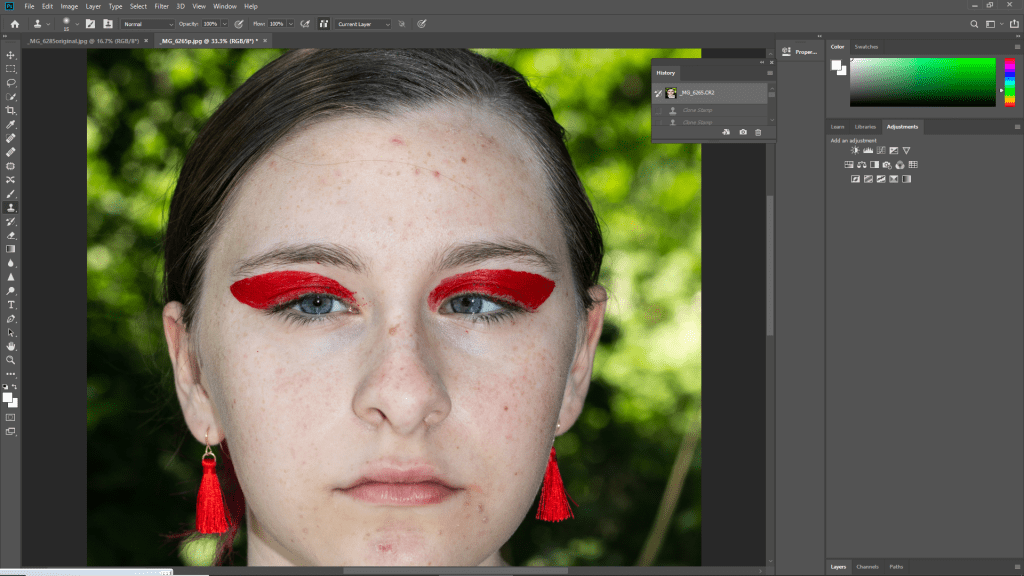
I started by using the clone tool on areas affected by dry skin and blemishes.
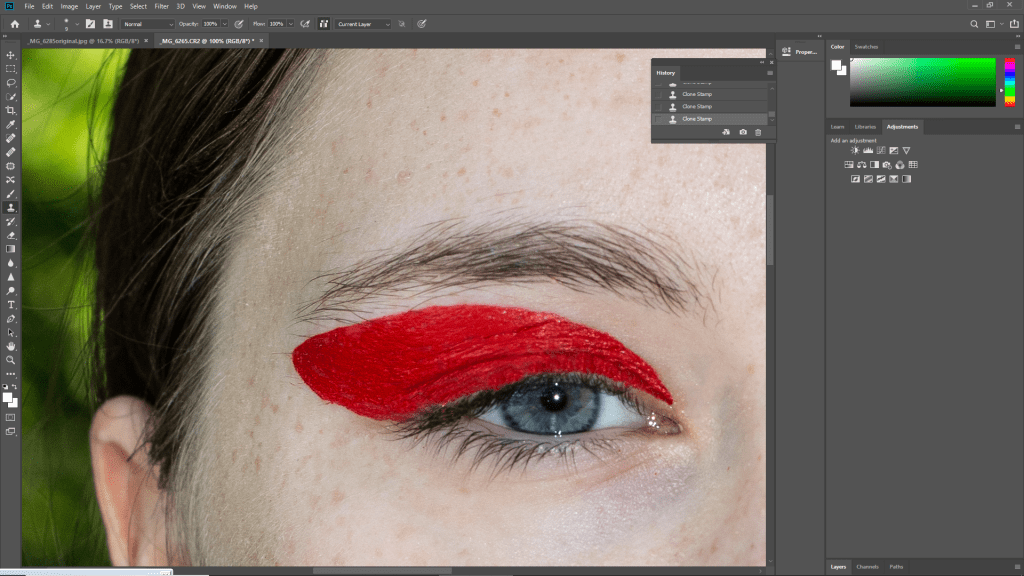
I focused on the eye make up using the clone stamp to fill in any gaps or parts that had fallen throughout the shoot.
Before: Clone stamp
After: Clone stamp
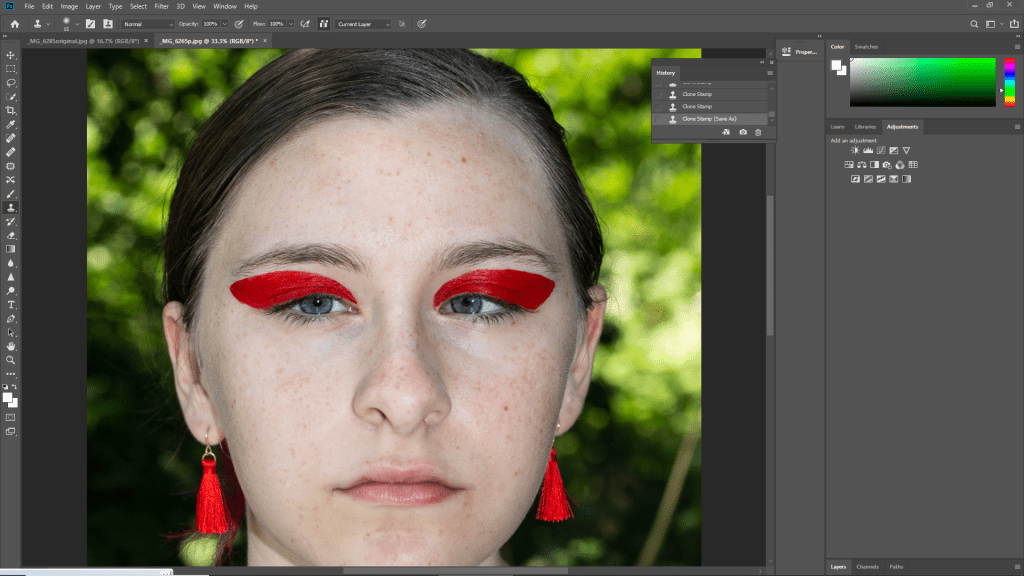
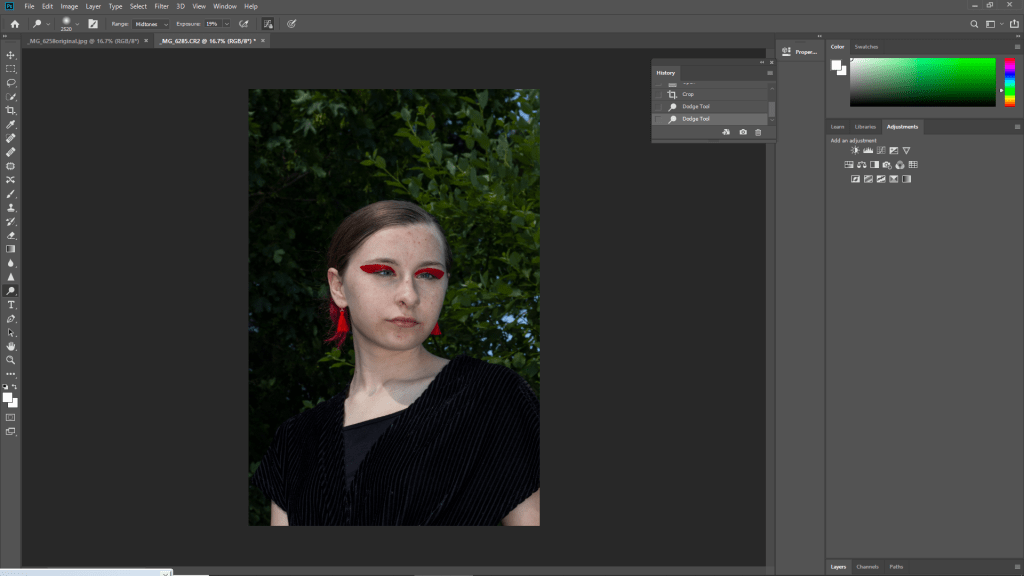
I chose to spend more time editing out imperfections such as blemishes on this image due to how close up it is. I felt these things were more obvious, due to the closness of the portrait. I am planning on editing other images in more depth once I decide my final images. I am really pleased with the outcome of the edit and feel it will be likely used in my final outcomes.
