
Inspiration
Rutherford creates studio portraits. She uses bright colours and often uses hair styles to create shapes. I chose this image as inspiration because of how strong it looks. I like the strong colours and using a side profile for a potrait. I also could use the lighting by having two sources, one on each side, similar to this.
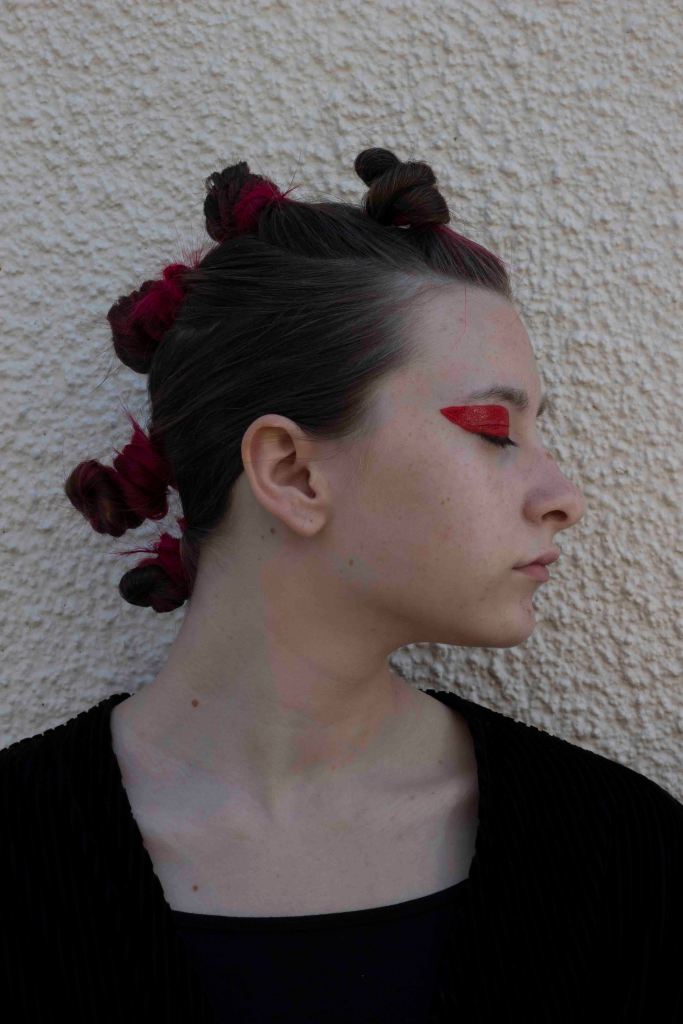
I chose this image as I felt it best resembled my inspiration image and plan. I used two light sources, one to the left in front and one to the right. I felt that this light technique meant the subject was more evenly lit and exposed well. The image was outside in the shade so there was already some lighting. I also used the reflector to bounce some light up to the subjects face. I under exposed the image so I could lighten it in Photoshop.
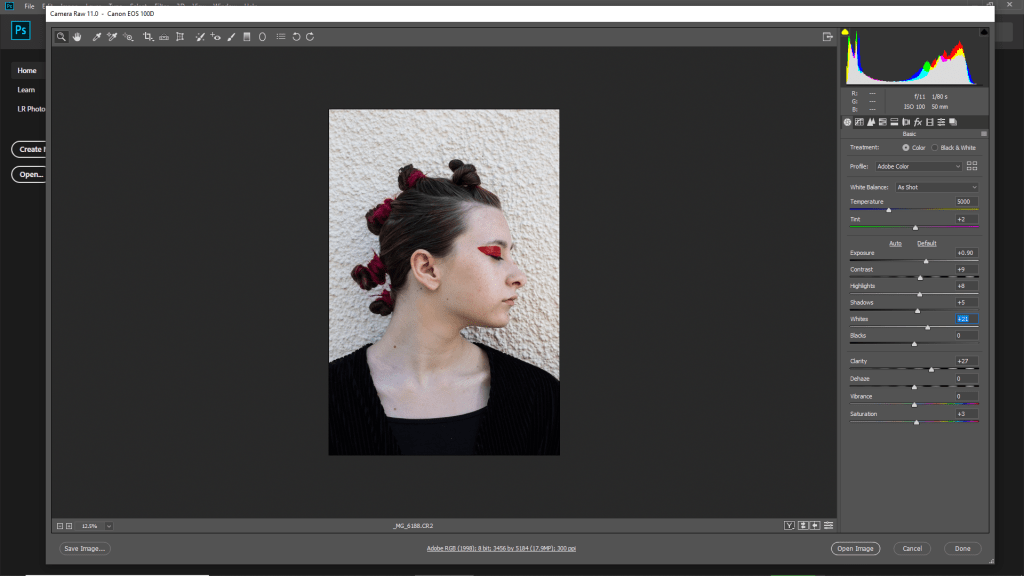
I used camera raw filter to make some adjustments to brighten the image. I increased the exposure, white and shadow which helped to lift the image. I also increased the clarity to make it more sharp.
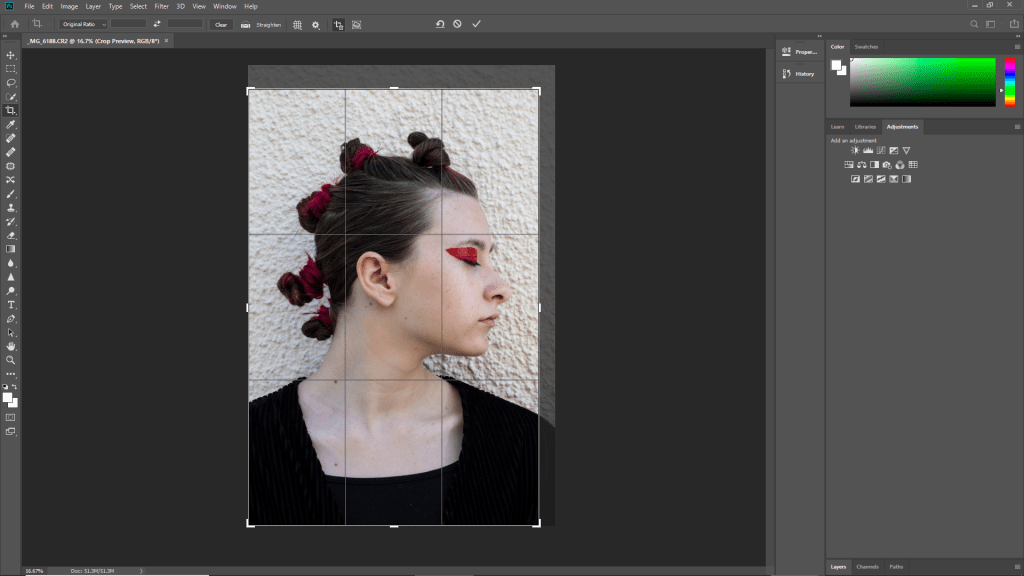
I cropped the image slightly to eliminate some of the negative space, but wanted to keep most of it in. This improved the composition.
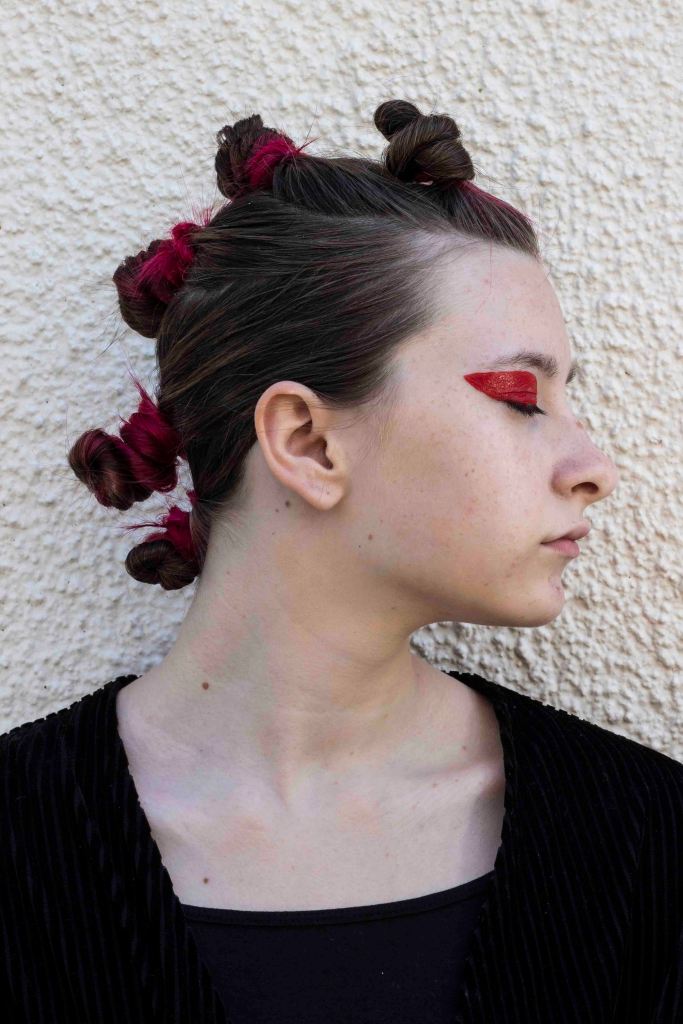
I am really pleased with the outcome of this image. I used additional light sources to create the lighting in addition to natural light. The edit is definitely an improvement and looks a lot brighter.
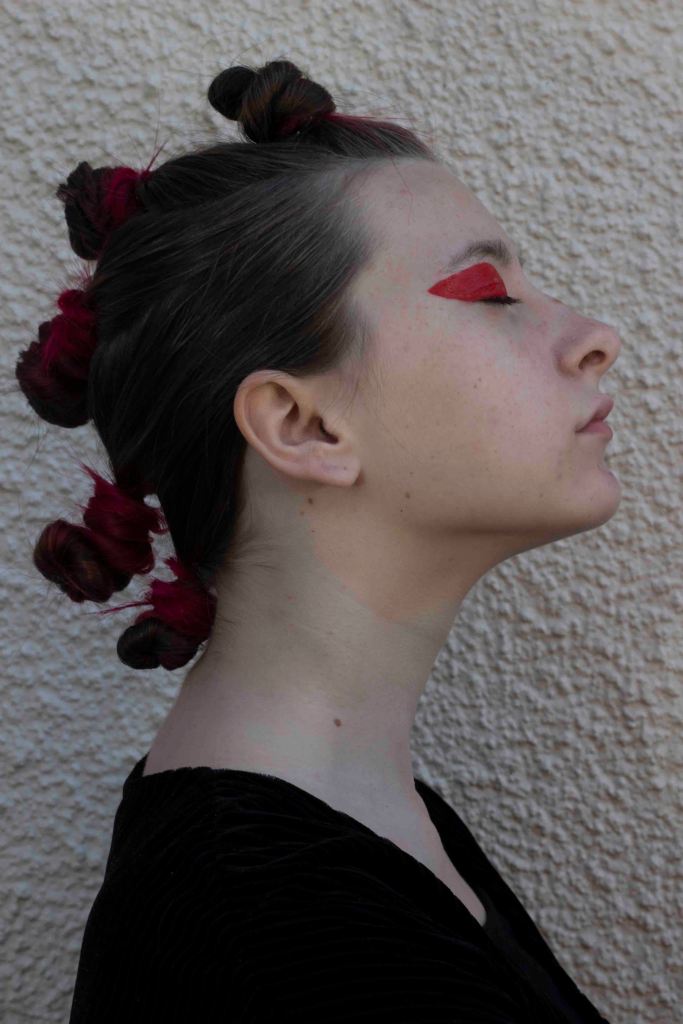
I chose this image as I feel it is a strong side profile portrait and the hair creates shapes. The image is quite dark so I will have to lift it in photoshop.
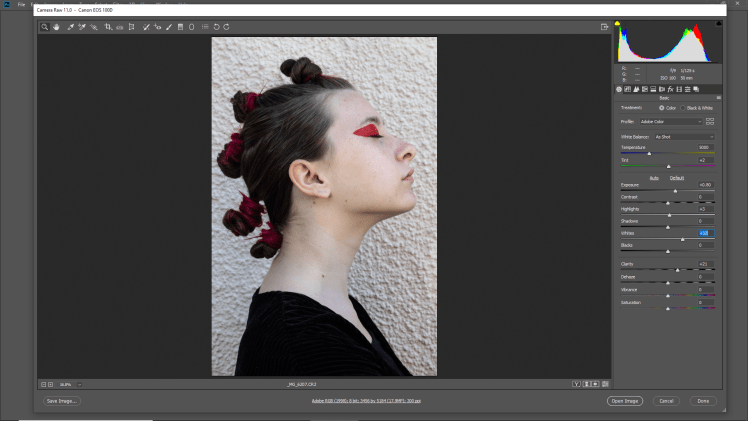
I only made subtle changes to the image. I used camera raw filter to increase the exposure, whites and clarity. The whole image looks brighter and the lighting is much better.
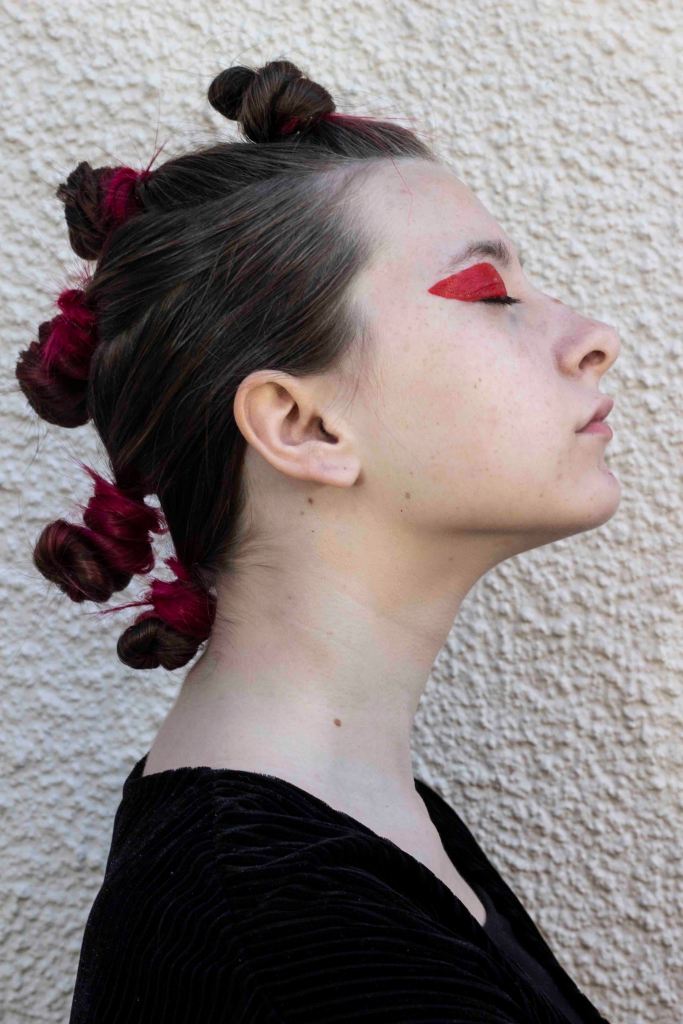
I am really pleased with the outcome of the edit. I feel as if I could potentially use it as a final outcome. I was worried about using a DIY light set up as it is something out of my comfort zone that I don’t have experience with, but I feel as if it has worked well in this outcome.
